

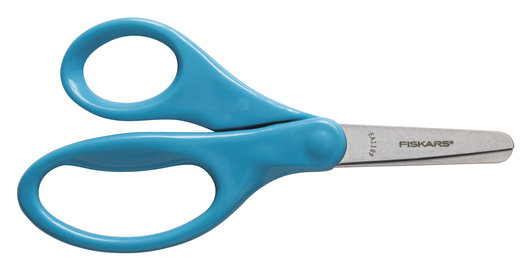
1. Begin with good scissors. i.e the blade is not too long, scissors are easy to open. Use Left-handed scissors for left- handed children (the blade opens up on the opposite side). Personally I like Fiskars with the round thumb opening and oval (wider) opening for other fingers.
2. Position fingers correctly. This means make sure children use a thumbs up approach when cutting. Most children do not pay attention to the positioning of scissors…teach it! I show them the different sized holes and I tell them that the thumb goes in the small opening and other fingers in the larger opening. Teach it, teach it, teach it!!!

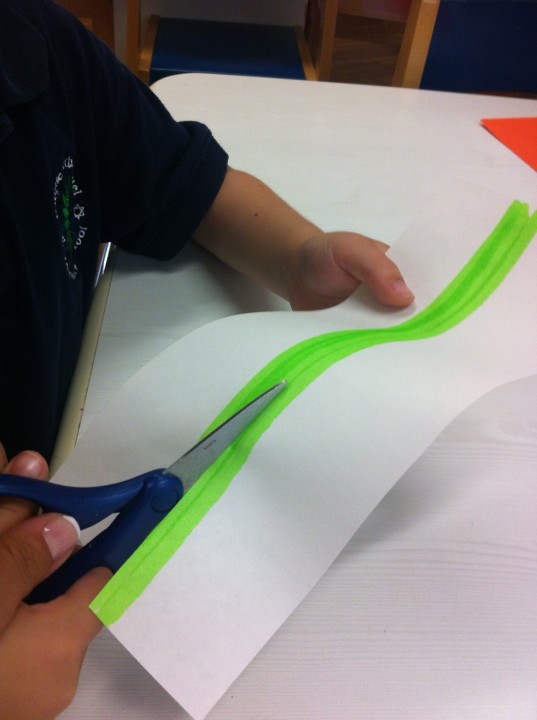
3. While cutting, make sure children keep the thumb up (ie the wrist is supinated, never pronated), their arm close to the body and the wrist in neutral (never flexed).

4. Begin with resistive mediums such as playdoh, straws, card stock then graduate to thinner paper.
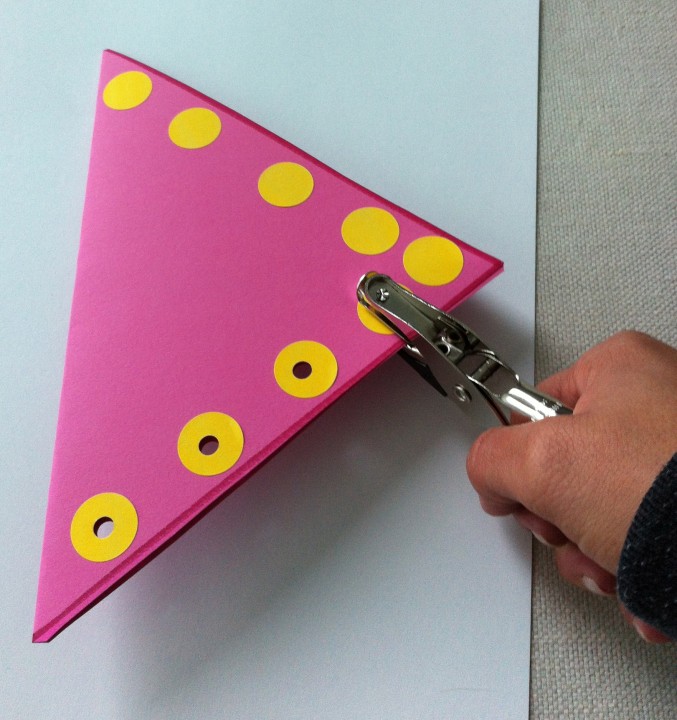
5. Always start with Prep activities to cutting. Here are some that I use: I like putty for strengthening and finger awareness. I also use tools that mimic the open/ close motion of scissors or mimic the cause and effect of squeezing a tool to get an outcome ex: hole puncher, spray bottle, clothespins, tweezers, egg holder, grabber.
6. For beginners I highlight a thick line where they have to cut.
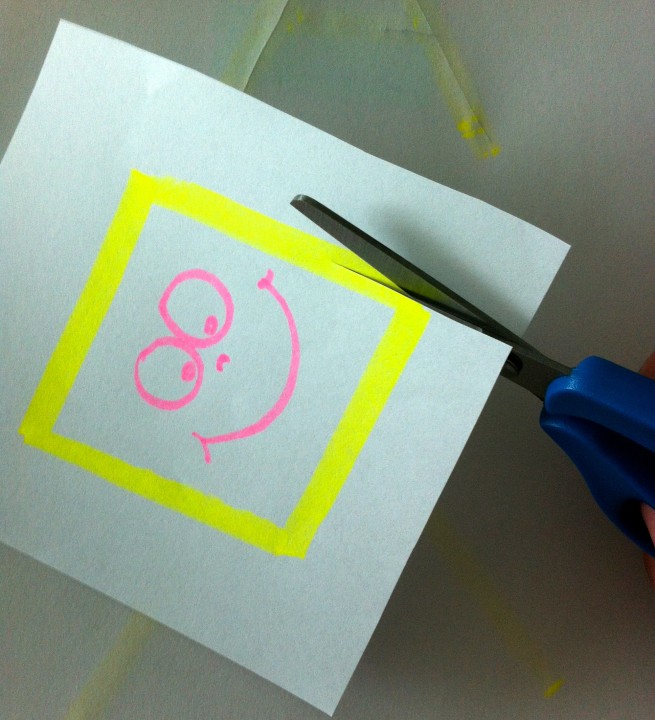
7. If a child has a hard time cutting during art project and I want him to still be part of the art project, I use a highlighter to draw a square or circle frame around the picture.
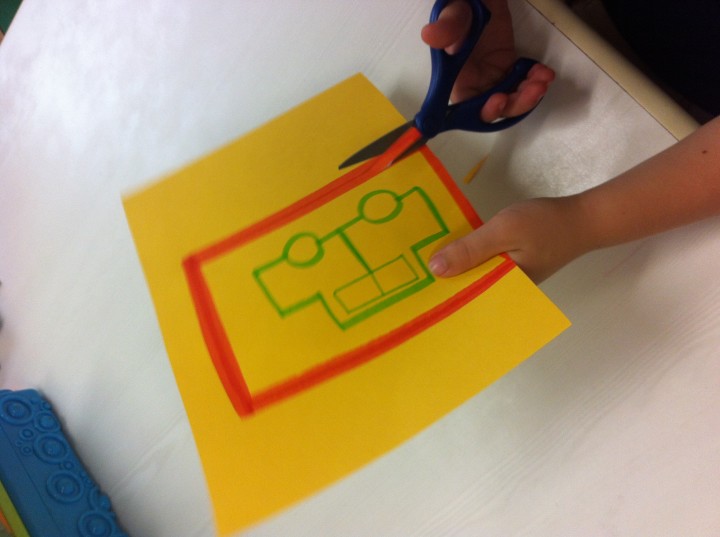
8. Teach cutting in the following order: snip, cut across paper, cut on a straight line, zig zag, curve. For shapes I like to teach square, triangle, circle then complex shape.
9. I like to verbally cue children with a little song as they cut…I’ll say open and close open and close and stop, now turn, open and close etc…I will also remind them to stay on the road!!!
10. Kids can become so focused on the “open and close” motion that they don’t always realize where the scissor is cutting… so I teach it! Are you on the road?

11. If the paper is too large, cut around it, to make it easier for children to manipulate.


3 thoughts on “CUTTING | Everything you need to know!”
how do you teach to turn the page while cutting around a shape
Put stickers on the lines where you want them to cut and ask them to cut through the sticker. I find that at times they raise their elbows away from the body instead of turning the paper. You can have them hold a little pillow or plush toy by holding it with the elbow against their body. Tell them not to drop it!
Thanks for putting into words the basics of scissor use; many parents today are in such a hurry that rather than teach these skills sequentially, they just ban scissors at their homes for fear of “hair cuts” and “disasterous home interiors.”
My favorite activities for teaching skills with little ones are cutting paper plates and cutting homemade playdough. “retired” early childhood and parent ed teacher.