I wanted to share a few tips of the trade when teaching handwriting to young children. There are several approaches but mine has always been eclectic and varies greatly depending on the child’s strengths. But here is a little bag of tricks I like to use!
1-Do not look at the final product, look at the process that the child uses to make sure the approach is correct.
2- Teach letter writing from top to bottom, left to right (for lefties it’s ok to go from right to left)
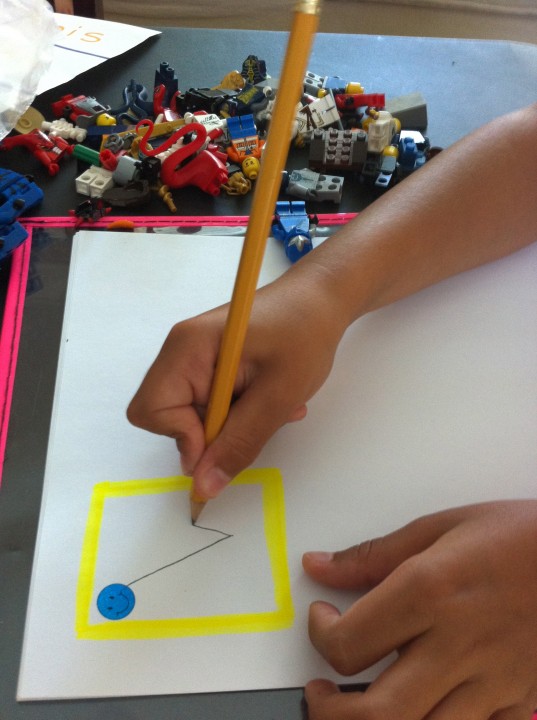
3- Do not teach letter formation in alphabetical order. Follow this order:
First teach letters with vertical and horizontals: L F E H T I
Then teach circular letters: U C O Q G S J D P B R
Lastly teach letters with diagonals: K A M N V W X Y Z
4- Make sure you draw a box within which children have to copy letters (gives them a framework within which they remain focused, otherwise letters are all over the place)
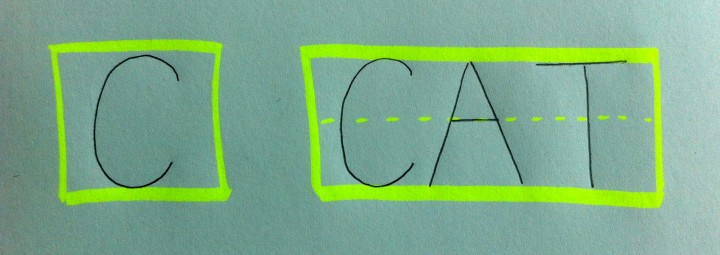
5-Have children trace highlighted letters rather than dotted lines.
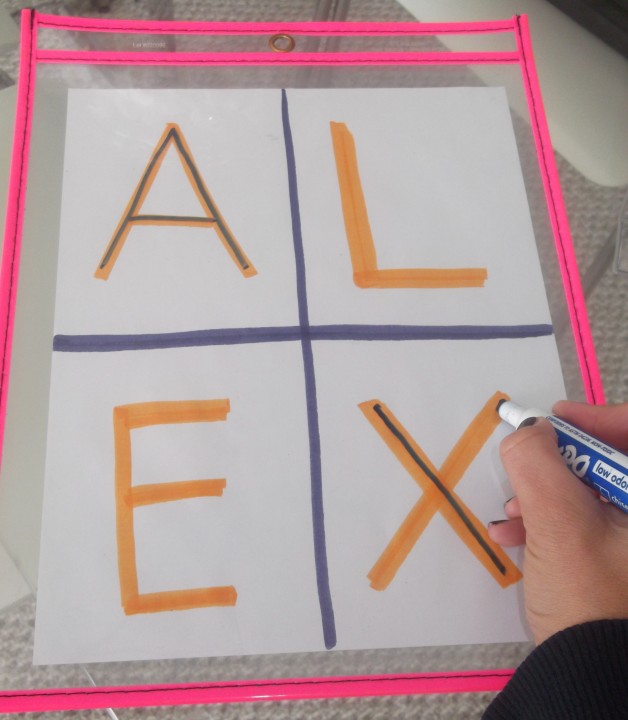 6- For children who have difficulty remembering the order of a stroke, I like providing them with an auditory cue. I therefore associate each stroke with a sound ex: diagonal is going down a slide weeeee
7- Some children may need you to create a storyline behind the formation of certain letters. Ex: lowercase letter e, I tell children they are in a car with the family driving vroom across (horizontal line) and we forgot the dog so we stop and go back around around around and stop (creates an e)
8- Teach formation of uppercase letters first then graduate to lowercase letters
9- Use a whiteboard to teach letter formation. The low friction allows children to focus on the formation of the letter instead of losing focus trying to maintain the pencil in their fingers caused by the higher friction of a pencil on paper. Once a child practices the formation on a whiteboard, you can then practice on paper with pencil.
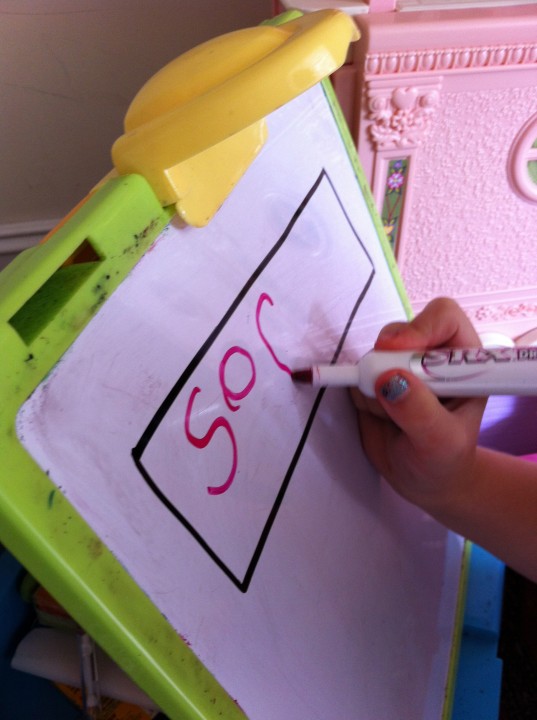
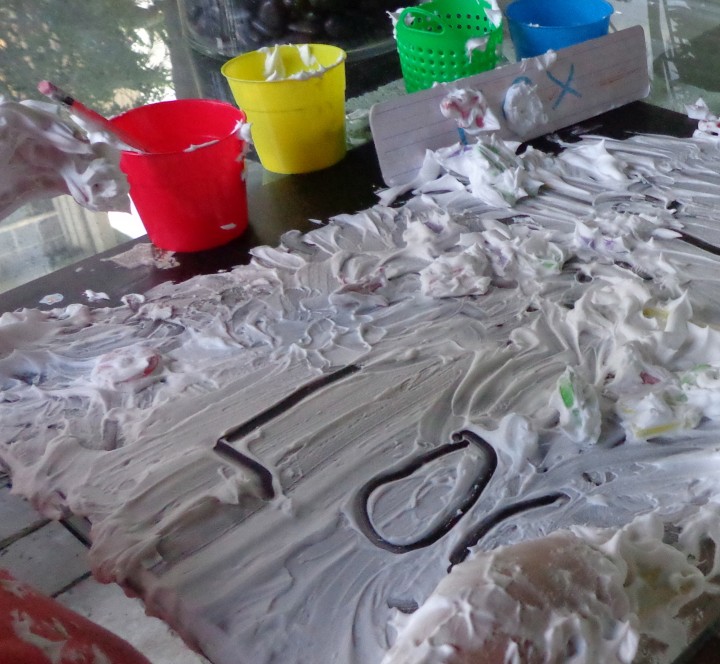
10- Make letter formation fun! Use as many sensory components as possible ex tactile: sand, paint, shaving cream, pudding etc… Use stickers, wiki six, magic markers, Popsicle sticks, music games, childrens’ bodies to form letters, glow in the dark sticks etc….



5 thoughts on “10 Things All Teachers Need to Know When Teaching Handwriting”
This is really good stuff! I am planning on homeschooling my Triplets and this will be great! Thank you!
How do you help a child who cannot form his letters correctly. DOesn’t sit them on a horizontal line? Appears to be able to write over the top of dotted letters but not be able to form when pattern is not there.
I hope this isn’t too late 🙁 I would create boxes so that the frame gives him a visual. I actually draw boxes on ruled paper. If he is at the level of copying letters, meet him where he’s at and make sure a sample is shown in a box just above the area you want him to write and make sure it’s the same size as the way you want him to write it.
a Post/Prescript: before teaching letter formation, the young child should have opportunity to develop small muscles (play with playdough/plasticine, be able to cut recognizable shapes like circles, squares, triangles, and if possible, control a dropper and paintbrush). I know you know this but parents do not. 🙂 Homeschool Consultant
Yes! You are absolutely correct!